Lesson 2: Basic Programming Functions

This week in class we will be discussing algorithm development where we will utilize the basic programming functions to accomplish some of the standard tasks required for general programming. We will not be “writing” these algorithms in any particular programming language. We are not learning a language syntax yet in the class, but we will be setting up your Ardunio environment and running a few of the simple examples so you can see some of the code working.
There are only a few main commands in every programming language that are required to know in order to write pretty much any code. I will describe each of them below.
Variables
Variables are used to store information for future use in the program. It is also a good practice, even when the language does not require it that you keep track of the type of data stored in a variable. The standard data types are: Strings, Floats, Integers, Characters, and Boolean Values. Some languages allow you to create custom types to store mutliple values of different types inside a type structure. We will touch on this later in the semester.
Arrays
Arrays are used to store lists or blocks of data of the same type we will use them in several examples. In Psuedo Code we will use array declarations like this: TYPE NAME (SIZE) so for example to store a list of 25 integers we would write INT MyArray(25).
Input Functions
Every programming language has a method to read input from the user, or read input from a file, or read values from a sensor. There is usually a distinction in the exact format and command used for each of these, but for writing Psuedo Code it is usual to utilize INPUT for user input from the keyboard, and READ for input from a file or sensor. So these will be the conventions used in class for our Psuedo Code examples.
IF-THEN-ELSE
This is the simplest of the branching functions and actually the only one that you need to accomplish any algorithm, but using some of the more advanced branching functions can make code easier to trace and read.
This structure does exactly what it sounds like IF a particular comparison is TRUE, THEN you will do a given action, or ELSE you will do a different action.
CASE STATEMENTS
This is a shortcut to a nested IF-THEN-ELSE structure where you perform a different action based on the CASE, or speecific value of a variable. For example you might make a menu with options a,b,c, and d. each which does something different your case statement would be
CASE MyVariable:
WHEN a:
  do this set of actions
  exit
WHEN b:
  do this set of actions
  exit
WHEN c:
  do this set of actions
WHEN d:
  do this set of actions
  exit
ELSE
  do this set of actions (ussually a print invalid selection
  exit
do these steps for all actions that do not exit
ENDCASE
Notice above that options a and b have an exit and c does not, this is a special case where if you pick option c it will execute the options below the last WHEN before leaving the CASE and going on with the rest of the code execution.
FOR LOOP
The For loop is one of the first looping mechanisms which is used to repeat a block of code a given number of times. A FOR loop usually has a variable with an initial value, a final value and an increment value. The variable may or may not be used within the loop to make it do something different each time. The example below is a fairly common use case to print a phrase a given number of times:
FOR I in (1 to 10 increment 1)
  PRINT "I ran the loop for (I) times."
NEXT I
WHILE LOOP
This one runs while a given condition is met. For example you might be counting how many times a word appears on a webpage and exit when you don’t find another match.
WHILE (FOUND) DO
Look for the word "and" in the page
If found then
   COUNT=COUNT+1
else
   FOUND = False
DONE
Of course we are missing a bunch of stuff in the example because I skipped how to read the page and how to find the word, but the point is that it would loop until the word was not found any more.
In class we will learn a couple of the standard algorithms used in computer science primarily focused around data management and we will see ways of making them faster.
LAB EXERCISES
This week I want to make sure you are able to get your Ardunio talking to your computer. This will involve downloading the Ardunio IDE from https://www.arduino.cc/en/software/
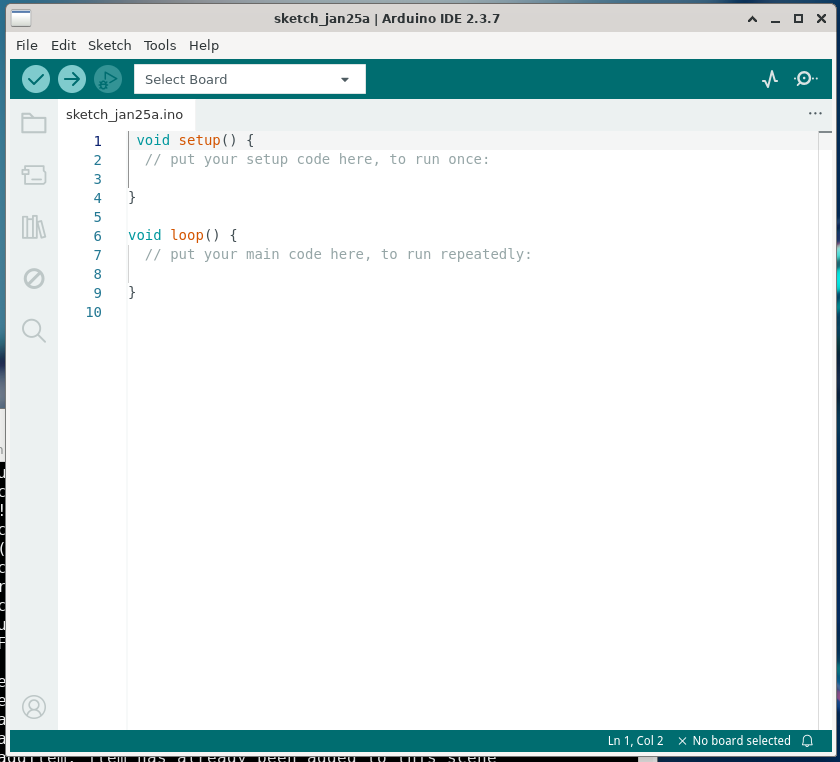
Once you have installed the software you will plug your Ardunio into an open USB port on your computer and open the Ardunio IDE software. It will have a sceen similar to this:
The first thing you will do it to select your Ardunio Board from the “Select Board” dropdown. If you don’t see it, you might need to run a software update on your computer to find the proper USB driver. There are pretty good instructions on the Ardunio website for doing this, but it should just work without having to do anything extra.
There will be only one board found, unless you have bought more than one and have them all plugged in, which would be highly unusual. After selecting the your board you will then open the example “BLINK” by selecting File–>Example->1. BASIC-> Blink. Your screen should then look like this:
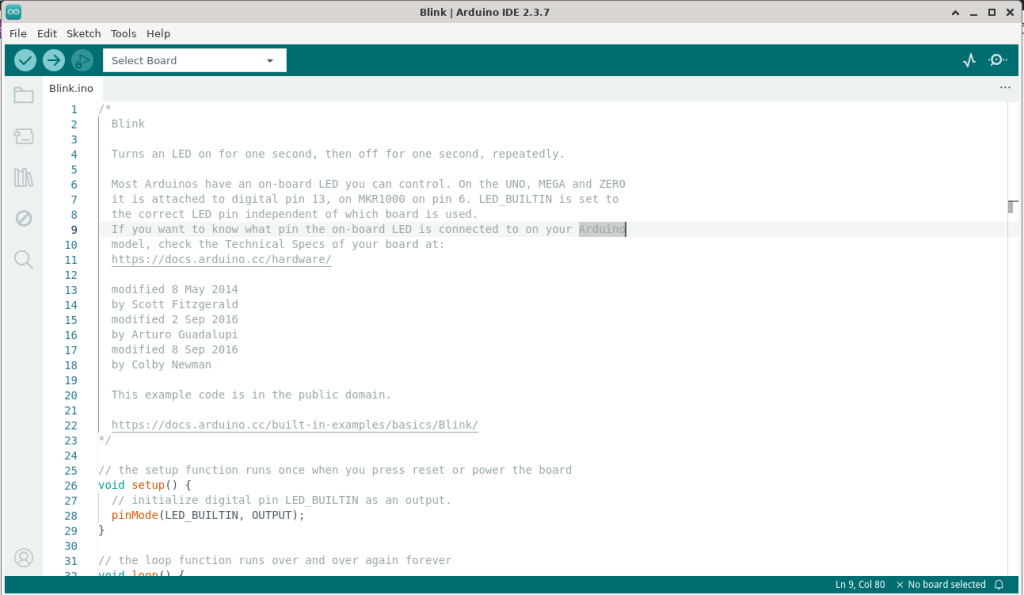
I recommend just to see something change that you modify the 1000 on line 36 to 100, this will cause the light to stay on for 1 sec and off for a tenth of a second instead of blinking on and off every second. The reason for this is that “BLINK” is installed on your Ardunio from the factory as a factory test.
Next you will click the Arrow that Points to the Right just beside the dropdown box for your board, this compiles and transfers the BLINK code to your board. You can feel free to modify other things in the code and try different things, but the main goal is to make sure you can transfer code to the Ardunio.